Homemade Soap
Perfect for Hands, Face, and Body
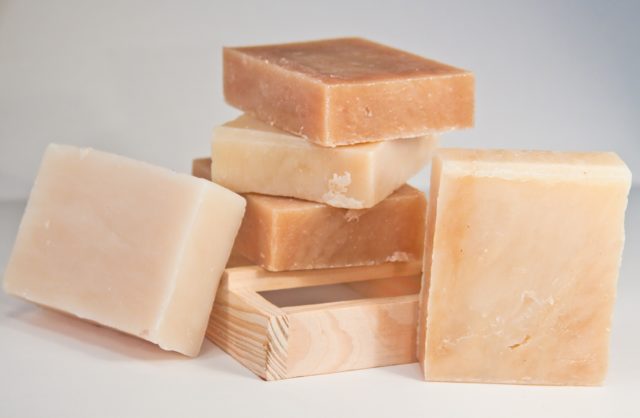
Homemade Soap
Let’s face it, soap is an important part of life. We use it every day for everything from washing our hands to washing clothes, dishes, and even our kids; and, while you could purchase soap and keep it with your emergency supplies, an important part of being able to survive whatever disaster may strike is having the skills to be self-sufficient.
So, with that in mind, learning how to make your own soap is definitely an important skill. Not only will you be able to create a wonderful variety of soap, including soothing oatmeal soap, relaxing lavender soap, or a hardworking soap with a natural exfoliant, but you can also take comfort in knowing exactly what has gone into the making of the soap that your family is using.
As an added bonus, soap makes an excellent item for bartering, and it can be used to create extra income (for more survival supplies) if you’re willing to sell at local craft fairs or flea markets; you might even be able to get a local shop or boutique to take your soap on consignment.
Types of Homemade Soap
Making soap is really quite simple; however, it’s important to make sure that you understand each step before you begin. After you’ve done it once, you’ll find it to be incredibly easy. Read through all of the steps so you have a good idea of the process, then gather your supplies and begin your soap making adventure.
Homemade soap falls into one of these categories:
- Cold Process
- Hot Process
- Glycerin
- Melt and Pour
Cold Process Soap – when making soap using the cold process method, the oils or fats are melted together to form a liquid, then set aside to cool. The lye is combined with water, and this solution is also left to cool. Once the liquid fats and the lye solution have both cooled to approximately 95 to 110 degrees F (depending on the recipe you’re following), they can be combined.
You can either stir the soap (time will vary depending on the type of base fats/oils you used), but it could be an hour or more. Most people prefer to use an immersion blender to mix the soap. You need to keep mixing until you reach trace, a light pudding consistency. You’ll know you’ve reached trace if you lift your immersion blender out of the soap and let a drizzle drop onto the soap. If drizzle leaves a trail on the surface, it’s reached trace, and you’re ready to move forward. At this point, essential oils, coloring, and other add-ins can be stirred into your soap; then, you’re ready to pour into molds.
The soap should stay in the mold for about 24 to 48 hours. During this time, the soap will heat up as it undergoes a chemical process known as saponification. This saponification process is the reaction that turns the lye, water and oil mixture into soap.
After the soap has cured for at least 24 hours, you can remove it from the molds and slice. You’ll then need to set your individual bars of soap on a rack with plenty of air circulation and let them continue curing for another 4 to 6 weeks. During this final curing, any remaining lye will be converted into soap, and the bars will harden.
Because the saponification process takes place after the ingredients are combined and the mixture requires no further cooking, this process is known in the soap making world as cold process. One of the benefits of cold process soap is that it tends to produce a smoother bar of soap than you’d get with hot process soap. This is due to the fact that your essential oils, coloring, botanicals, and any other add-ins are added to the soap before saponification takes place.
Hot Process Soap – the hot process method of making homemade soap is made in much the same way as cold process soap; where it takes a turn is after the mixture reaches trace. Once your lye/water/oil/fat mixture has reached trace, it is cooked; either on top of the stove, in the oven, or in a slow cooker. Whichever method you choose, always cook on low.
Many people prefer to use a slow cooker for cooking the soap mixture because it requires a little less attention, but you’ll still need to stay close in case the mixture begins to rise and boil over. When you cook the mixture on the stove top or in the oven, you’ll need to watch the mixture very carefully. Whichever method you use, the cooking process can take two to three hours, so be patient. Cook until the soap thickens and has a glossy texture.
Hot process soap tends to be a bit more rustic looking than cold process soaps. You will also be a bit more limited when it comes to the designs you’ll be able to make; for example, it’s usually not possible to get the swirl affect that is common with many cold process soaps.
Soap made using the hot process method eliminates the long curing time needed with the cold process method; however, it can still benefit for a curing period of a week or two.
Glycerin – glycerin is actually a byproduct of the soap making process. Glycerin soap is easily identified by its translucent color which results from the addition of sugar and alcohol.
Many people purchase a glycerin base for their homemade glycerin soap, but it is much more rewarding to make your own base. Not only will you have the satisfaction of being able to save a considerable amount of money, but you’ll also be able to control the ingredients that you use in your glycerin soap base.
Many of the glycerin soap base products sold for soap makers will contain a variety of added chemicals. If you want natural glycerin soap, then making it yourself is essential. It’s not complicated, in fact, it’s much like making any hot process soap; however, it can take a little experience in order to achieve the translucent color that is the hallmark of a true glycerin soap.
If you want to make your own glycerin soap base, you’ll need to first make a lye/water solution. This solution will then be added to your warmed oils, and the mixture stirred (use an immersion blender), until it reaches trace. Once the mixture reaches trace, you’ll need to cook it on medium heat for a few hours; a slow cooker will come in handy for this step. The base mixture will eventually reach the gel phase, which you’ll recognize by the translucent look; it should look kind of like petroleum jelly.
Once it’s reached the gel phase, it’s time to add the alcohol and liquid glycerin. Be extremely careful when adding the alcohol; alcohol has a low flash point and shouldn’t be added while cooking over an open flame. This is one of the reasons why we like making our glycerin base in a slow cooker.
Working the alcohol and glycerin into the soap base can take a few hours, so be patient. Once the soap is completely dissolved, you’ll stir in a sugar solution made with sugar dissolved in water. The soap base can then be covered and left to cool to 145° F. This soap base can then be poured into a cake pan or mold, and covered with plastic wrap.
Let it cure for a week or two; then it’s ready to cut into chunks. Store in a glass jar. Remember, this is just the base for glycerin soap. When you want to make your soap, all you’ll need to do is melt the base in a jar, add whatever coloring or essential oils that you want, and pour into molds. When your homemade glycerin soap has cooled, just remove it from the mold, and wrap in wax paper or plastic wrap. Glycerin soap that isn’t wrapped will quickly collect moisture, resulting in beading on the surface.
Melt and Pour – making this type of soap is as easy as it sounds. Of course, most of the work has already been done for you. This can be a fun project to work on with kids or an easy way to enjoy making your own soap, without having to handle lye. The downside of making this type of soap is it’s not actually “homemade”. You’re simply melting down the purchased soap base, then adding the colors, fragrance and botanicals to create your own soap. As you might expect, it costs a lot more to make soap when you choose the convenience of melt and pour, and you have no control over the ingredients used in the manufacture of the base.
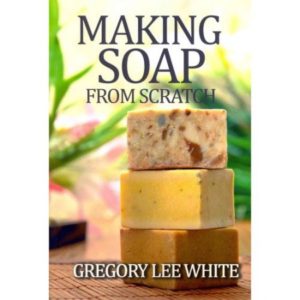
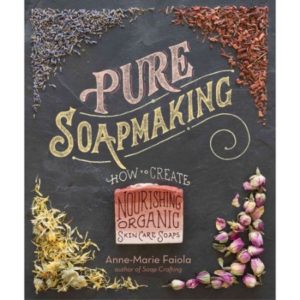
Two of our Favorite Books for Making Homemade Soap
Lye – Why You Need it for Soap Making
and
Important Safety Information
Lye is an essential ingredient in the soap making process. If there’s no lye, there’s no soap. It’s that simple. The lye solution is made by combining lye (sodium hydroxide) with water; the chemical reaction will cause this solution to heat to more than 200° F, so make sure you use a heat proof container for this step. This lye solution is then added to a fat/oil mixture to make the soap base.
The chemical process, known as saponification, of the lye solution combined with the oils will transform the ingredients into soap. In the cold process method of natural soap making, most of the saponification will take place during the 4 to 6 week curing period. If you’re making hot process homemade soap, the saponification takes place during the cooking phase of the soap base.
Some people worry about using lye in their soap making, but there’s really no reason to be concerned. It’s a natural part of the soap making process and once the saponification process is complete, there is no lye left in your soap.
In generations past, homemade soap was made using lye, but the lye had to be drawn out of wood ash. The ash leftover after burning hardwood (softwood has too much sap) was added to water and boiled until the ash settled to the bottom of the pot (about 30 minutes). This process left a layer of liquid lye floating on the surface of the water which was skimmed off and used for making soap.
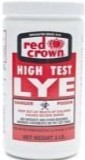
You can still make your own lye using this method, but for simplicity’s sake, most people just purchase a good quality lye for their soap making. This is the one we use, and we’ve always had good results:
Safety tips for handling and using lye – lye (sodium hydroxide) is extremely caustic and can cause serious burns if not handled properly. Have vinegar on hand to neutralize any lye that splashes or gets spilled. Always wear long sleeves, pants, safety goggles and rubber gloves when handling lye.
Lye should also be used in a well-ventilated area. When you add the lye to water, it will release fumes. The lye solution should be mixed in a heat-proof, non-breakable container; but not aluminum, it will react with the lye, causing a toxic chemical reaction.
When making the lye solution, the lye should always be added to the water; never add water to lye. Add the lye slowly, stirring constantly. Never inhale the fumes that are released during this chemical process.
Some people are hesitant to make homemade soap because of the inherent dangers of working with lye; however, if you use a few basic safety precautions, you should be fine.
Coloring, Essential Oils, and Botanicals
Colors, essential oils, and other add-ins are typically stirred into the soap once it reaches trace.
Colors
Soap can be colored with liquid or powdered dyes, such as food coloring or dyes made specifically for making soap. You’ll also find a wonderful selection of micas and oxides that can be used in coloring your homemade soap; however, if you want to make a truly “natural” soap, then you’ll need to consider some alternatives.
For example, poppy seeds, ginger, coffee grounds, carrot juice, and numerous other household items can be used to make natural colors for your homemade soap. There are also some companies that sell natural soap colorants.
Some colors work better than others, depending on whether you’re making cold process or hot process soap. Additionally, if you choose to use oxides or micas to color glycerin soap, be aware that you will see specs of color and your soap will not remain transparent.
The best way to determine what type of color you want to use is to experiment. You’ll be able to find what works best for you, and which colors are your favorite.
Essential Oils – raspberry, lemon, patchouli, sage, peppermint, lavender, and cedarwood are just a sampling of the wonderful essential oils that you can add to your soap. You can use just one type of essential oil, or create your own blend.
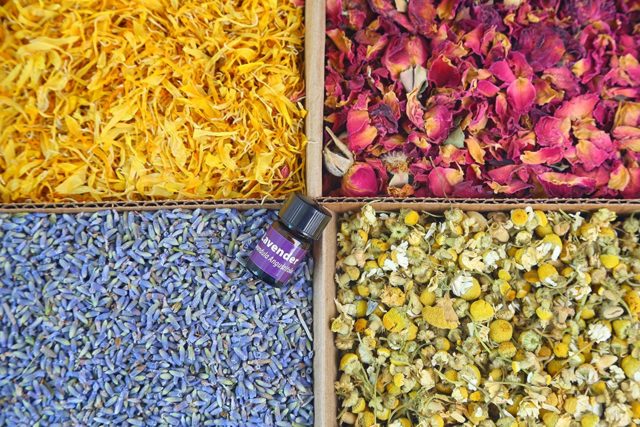
Botanicals and other Add-ins – chamomile, oatmeal, ground raspberry seeds, dried lavender, kelp powder, and dry coffee grounds all make excellent add-ins for homemade soap. The list of natural items that can be added to your soap are almost unlimited. Many of these add-ins offer exfoliant benefits as well as their own color, and other properties. For example, lavender and chamomile are both wonderful for relaxation.
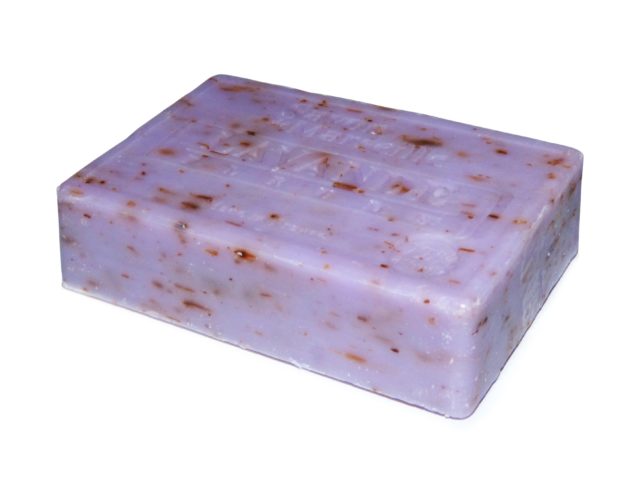
Lavender Soap
Soap Making Supply List
The supplies you’ll need will depend on the type of soap you plan on making, but here’s a good list to get you started:
Infrared thermometer – you could use a stick thermometer, but then you’d have to clean it every time you checked the progress of your soap solution. This might not seem like a big deal, but since you’ll be working with lye, you’ll need to deactivate the lye and use care during each cleaning. It can become a huge hassle. Trust me, the infrared thermometer is the way to go.
Slow cooker – an old slow cooker that you can dedicate to your soap making can make the process much easier. Just make sure you mark it clearly “For Soap Making Only”, you wouldn’t want someone to accidentally use it for food.
Large saucepan – do not use aluminum.
Immersion stick blender – some people use a stainless steel or wooden spoon, and this is certainly possible; however, the amount of stirring you’ll have to do makes picking up an immersion blender seem worth every penny.
Heat proof stainless steel pitcher – for mixing lye solution. You’ll need a heatproof container to mix your lye solution in; preferably not glass, since glass always has the potential of breaking.
Digital Scale – Remember, all ingredients for soap making are measured by weight, not volume. A digital scale will help ensure that all of your measurements are accurate; an important part of making sure your soap turns out the way you want.
Utensils – wood, stainless steel or silicone utensils for stirring. Stainless steel potato masher for adding colors and oils after trace. Measuring spoons.
Molds – a variety of store bought or homemade molds.
Cutters – wavy and/or straight cutters.
Plastic wrap – Stretch-tite plastic wrap is good for covering your slow cooker when making hot process soap.
Rack – a cooling rack made for baked goods will make an excellent rack for curing your soap.
Oil – a mixture of oils, lard or tallow.
Lye – Sodium hydroxide
Distilled water – tap water can have impurities, it’s best to use filtered or distilled water in your soap making.
Use a Proven Recipe for Your Homemade Soap
You’ll definitely find many recipes for homemade soap on the internet, in books, and from soap making friends. To get you started, we’ve added one of our favorite recipes. Keep in mind that ingredients listed in soap making recipes are always measured by weight, not volume. For beginners, it’s usually recommended to start out with a cold process soap recipe. Of course, any cold process recipe that you like can always be used for making hot process soap. Start simple, and get the hang of it before you try to tackle too much at one time.
Basic Cold Process Homemade Soap
This is the recipe I generally use. I’m going to give you directions for making a cold process soap, but you could also use this recipe to make hot process soap.
Ingredients
(all ingredients are by weight, not volume)
30 ounces olive oil
6 ounces coconut oil
2 ounces castor oil
5.09 ounces lye
12.54 ounces distilled water
1 ounce essential oil (optional)
Directions
- Prepare your molds. Silicone molds are ready to go just the way they are, but if you’re using wood molds, they’ll need to be lined with wax paper or freezer paper to keep your soap from sticking.
- Cover your work area with newspapers. Make sure you have a spray bottle of vinegar close at hand, in case you need to neutralize a splash of lye solution. Put on your rubber gloves, eye protection, and make sure you have long sleeves and pants.
- In a well-ventilated area, measure water into a heatproof container. Carefully measure the lye; add to the water slowly, while stirring constantly. NEVER add the water to lye; ALWAYS add lye to water. Stir until the lye is completely dissolved. The solution will heat up and let off fumes, be careful not to breathe in these fumes. Let the lye solution cool to between 100° and 120° F.
- While the lye mixture is cooling, measure the other ingredients, except the essential oil. In a slow cooker, mix these oils together and heat on medium until they’re all melted. Remove the liner from the slow cooker and let the oils cool to between 100° and 120° F. Use an infrared thermometer to check the temperature. Ideally you want the lye solution and the oils to both be between 100° and 120° F. If one is cooling faster than another, you can place it in a warm water bath to slow down the cooling process. They should both be within 10° of each other.
- In a slow steady stream, add the lye solution to the warmed oils. Stir the mixture until you reach trace. An immersion stick blender works best for this process. Just make sure that you have the head of the stick blender completely submerged so it doesn’t splatter when you turn it on. You’ll know you’ve reached trace when a small drizzle leaves a “trace” on the surface of the soap. It should look like vanilla pudding.
- Add essential oils, if using, and pulse the stick blender a few times until the soap mixture reaches a medium trace.
- Pour into molds. Keep in mind that the lye solution has not yet had a chance to produce saponification, so the mixture will irritate your skin. Keep your rubber gloves on.
- Place the molds in a safe place for the next 24 hours. Turn a cardboard box upside down over the molds and cover with a towel. You want to slow down the cooling off period a bit.
- After 24 hours, you can remove the soap from the molds. Cut your soap and place on a rack to cure. Stand the bars on their side with space between each bar so they get plenty of air circulation. Let the bars cure like this for about 4 to 6 weeks. During this curing period, the saponification process will be completed. The soap bars will also lose some moisture during this curing process, making the soap harder, and longer lasting.
Clean Up
Rinse your soap making supplies in warm water. Put some vinegar in the sink and fill with hot soapy water. Use this to wash all the pans and utensils you used for soap making.